
In our digital age, where technology dominates the creative landscape, there’s a growing appreciation for the tactile and personal nature of analog art forms. One such medium that has seen a resurgence in popularity is analog collage.
Moving beyond the traditional elementary school craft project, contemporary artists such as myself are embracing the versatility of collage to create stunning masterpieces. Analog collage allows you to blend various elements into a harmonious visual narrative.
In this blog post, we’ll explore the journey from scissors to canvas, unraveling the art of analog collage and providing insights into how you can embark on your own creative adventure. I have a heap of videos on my TikTok, these can help aid you!
The Basics of Analog Collage
Analog collage is a form of visual expression that involves assembling different materials and textures onto a surface, typically paper or canvas, to create a cohesive and thought-provoking composition.
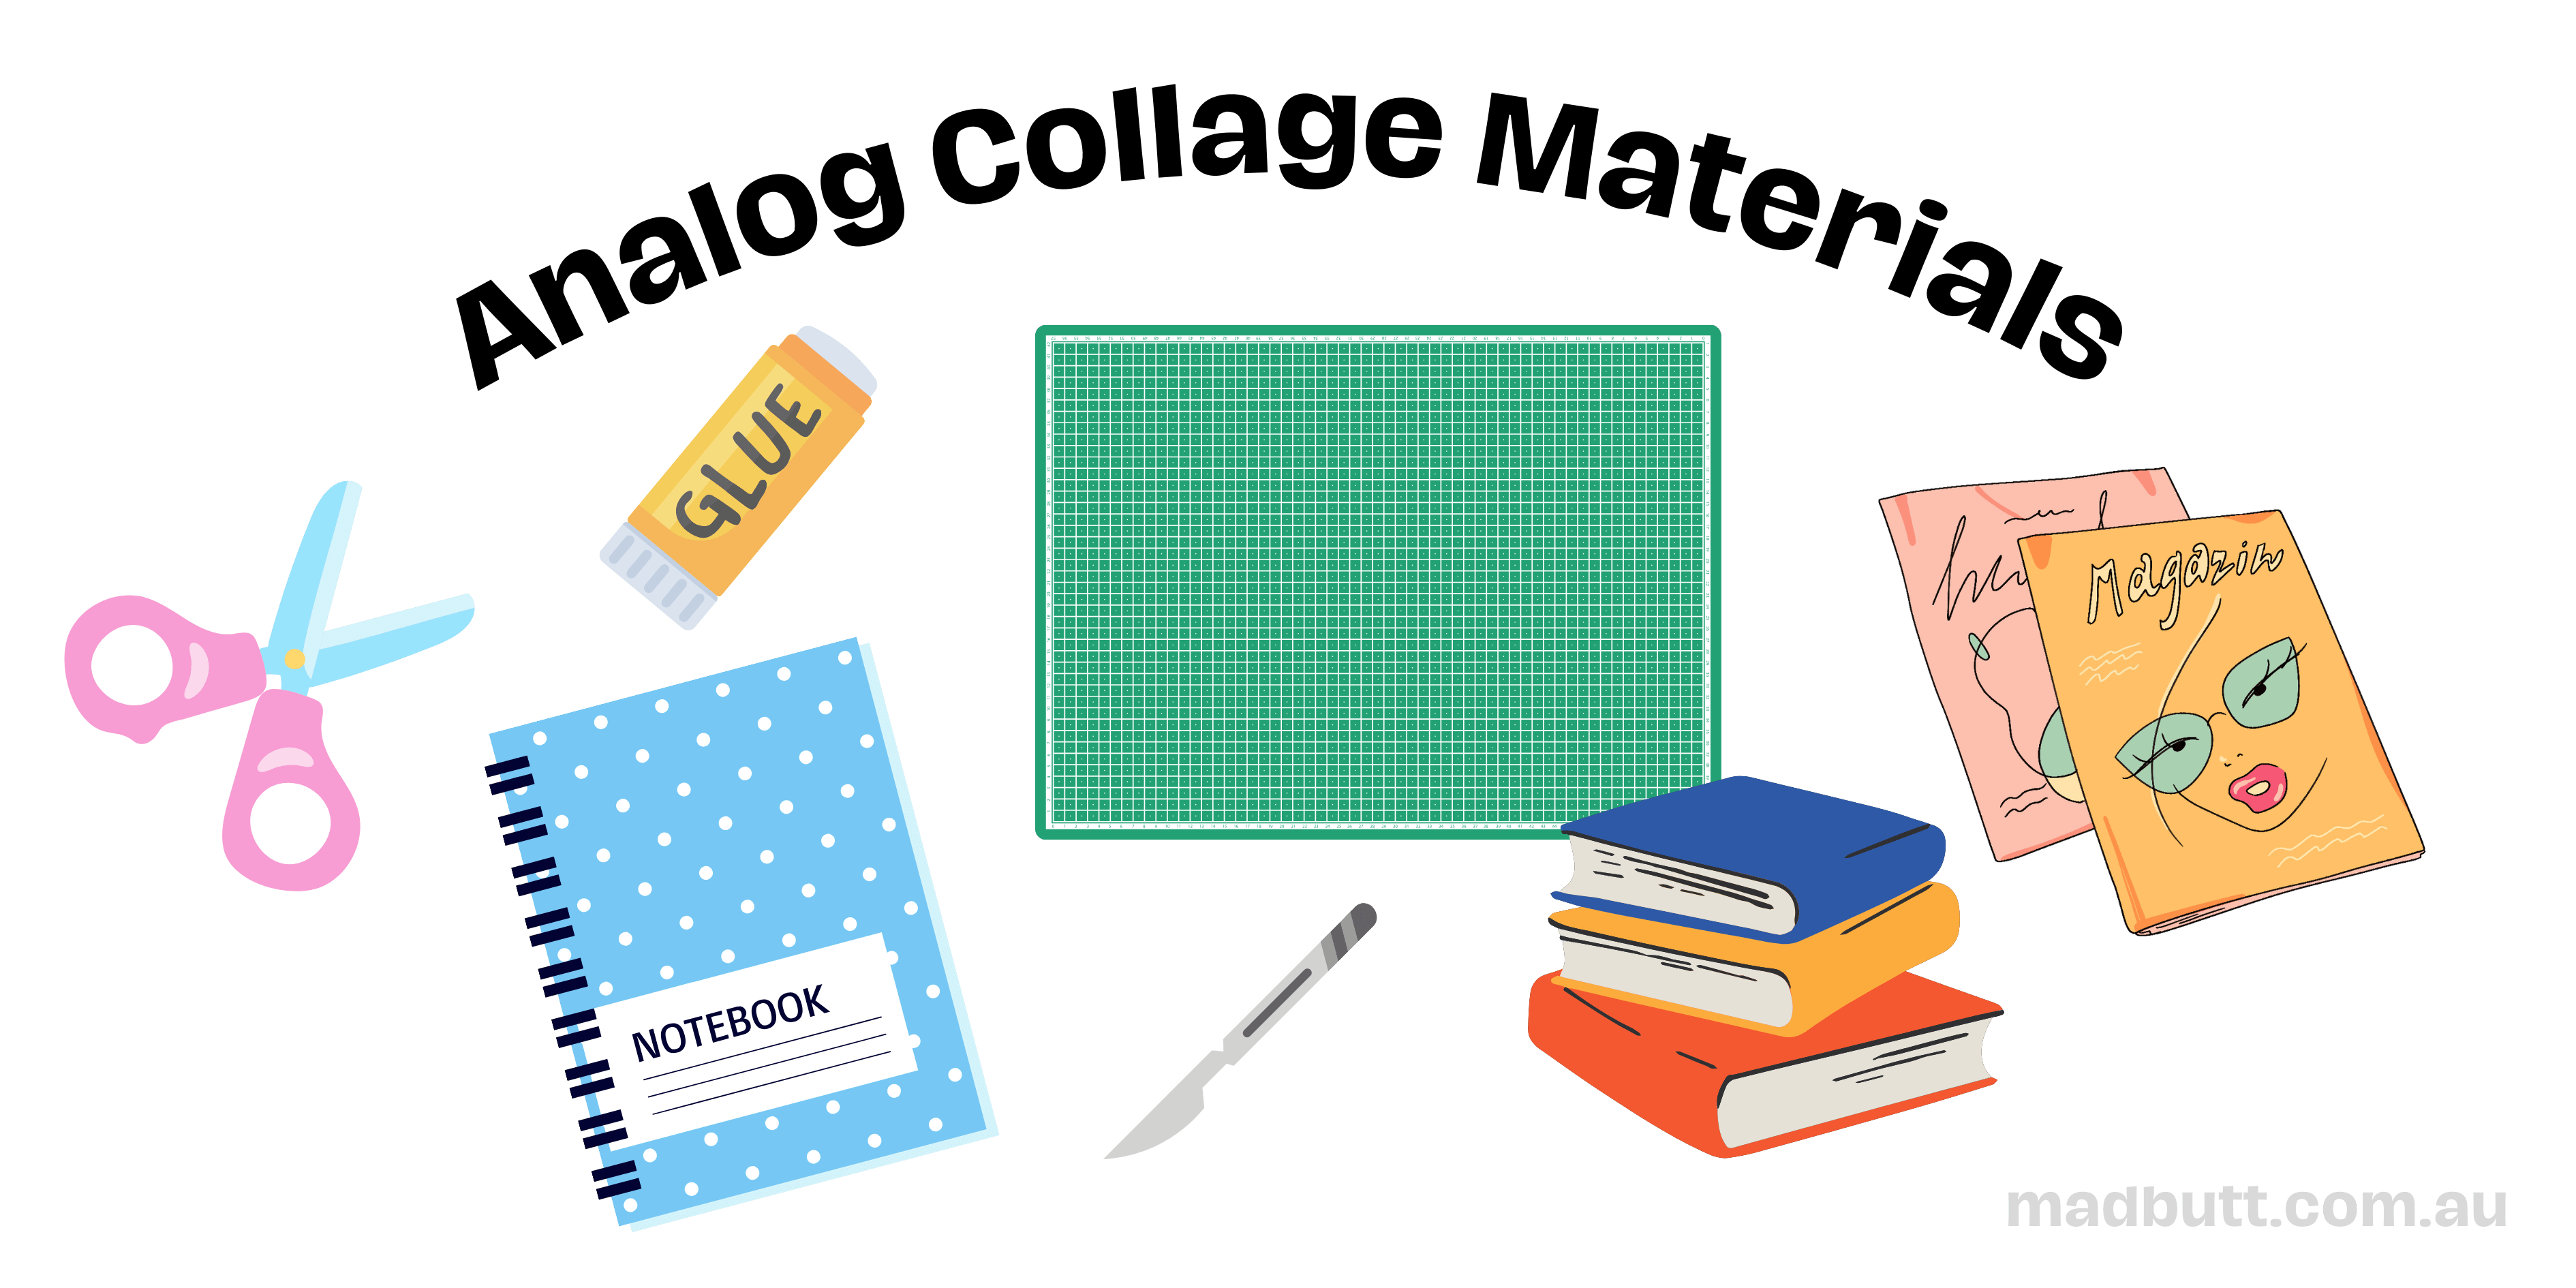
You will need materials and tools before you start creating your collages. You can usually find these around your home, but head to your local discount or art store to buy anything you don’t have!
Once you have materials and subject matter to use, you can start creating! Don’t worry if your first or tenth collage isn’t what you want it to be. Or… what you consider to be visually appealing. These skills take time to build! I have a heap of collages you can check out if you need inspiration.
Materials and Tools
The materials used can range from old magazines and newspapers to fabric or paint, photographs and even found objects. The magic lies in the juxtaposition of these elements to form a story, visual narrative, or evoke a specific emotion.
You don’t need to spend a lot of money on your materials when you are first starting out. No one expects you to be dropping more than a hundred dollars! In fact, if you go over $50 in your first session of making collage – you are spending too much money.
When I first started making collage, I went to my local thrift store to get content such as magazines and posters. Back in 2015, National Geographic collages were huge, so I sourced about 40 of those and got them for about $25. These days, because collage is so huge, you may struggle to get such a large amount of magazines at a discounted rate. But I suggest going to stores and having a look before looking online – online is always more expensive.
Once you have all your materials, you are ready to create your collages.
Magazines and Printed Material
- Gather a variety of magazines, newspapers, and printed materials with interesting textures, colours, and imagery.
- I prefer using found materials unless I am working on a body of work specific to licensing reasons. Yeah, there are laws that apply to collage. I have blog posts about that too – search copyright.
- Consider vintage publications for a unique and nostalgic touch.
Scissors and Cutting Tools:
- Invest in a good pair of sharp scissors for precise cutting.
- Explore craft knives for intricate details and clean edges.
Adhesives:
Choose a suitable adhesive for your materials, such as glue sticks, gel medium, or mod podge. Test different adhesives to find the one that works best for your preferred materials. For collages on canvas I use a wheat paste, see above video. For more archival works on paper, I use an archival glue – which is on my Instagram and Tiktok!
Base Surface:
Select a sturdy surface for your collage to be stuck onto. This can be a surface such as canvas, heavy paper (260GSM or higher) or cardboard. Experiment with different textures and colours to enhance the overall aesthetic.
Creating Your Analog Collage Masterpiece
Step 1 – Conceptualisation:
Begin with a clear concept or theme for your collage. This could be inspired by a specific emotion, a story, or even a colour palette. Sketch out a rough layout or plan to guide your composition.
If you need ideas, check out my Monthly and Weekly Challenges for February 2024. Sign up to my newsletters and follow me on socials, if you want more of these – I post these monthly.
Sometimes I don’t even have an idea in mind, I just go with what I can see. Because I’ve been doing collage for so long, I can visual what I would do with a material in my head when I see it. This is a skill that I had to build up!
Step 2 – Material Selection:
Carefully choose materials that align with your concept. Consider the mood, colour scheme, and overall aesthetic you want to achieve. Don’t hesitate to experiment with unconventional materials to add depth and intrigue to your collage.
Step 3 – Cutting and Arranging:
Start cutting out elements from your chosen materials, paying attention to shapes, sizes, and negative space. Arrange the cutouts on your base surface, experimenting with different compositions until you find one that resonates with your vision.
Step 4 – Layering and Texture:
Embrace the beauty of layering to add depth and complexity to your collage. Experiment with texture by incorporating materials like fabric, lace, or textured paper. I sometimes use paint, I really enjoy playing around with different elements and mediums to build up a narrative.
Step 5 – Gluing and Sealing:
Once satisfied with the arrangement, glue the elements onto the base surface. Take your time to ensure a secure and even adhesion. Consider sealing your collage with a clear varnish or medium to protect the materials and enhance longevity.
Analog collage is a captivating journey from the simplicity of scissors and glue to the complexity of a visually stunning masterpiece. Through thoughtful material selection, precise cutting, and creative arrangement, you can transform ordinary elements into a work of art that tells a unique story. So, gather your materials, unleash your creativity, and dive into the world of analog collage to experience the joy of creating something extraordinary with your own hands.